Azure DevOps release pipeline for .NET Web API using IIS
Published: Friday 22 July 2022
An Azure DevOps release pipeline can be used to deploy a .NET website to IIS. It also allows us to set up a CI/CD process in Azure.
Azure DevOps Environment
We have our web server setup which is a Windows 11 machine, and we'll be running the Web API using IIS. The goal here is set to up a release pipeline that will deploy our application to this server through Azure DevOps.
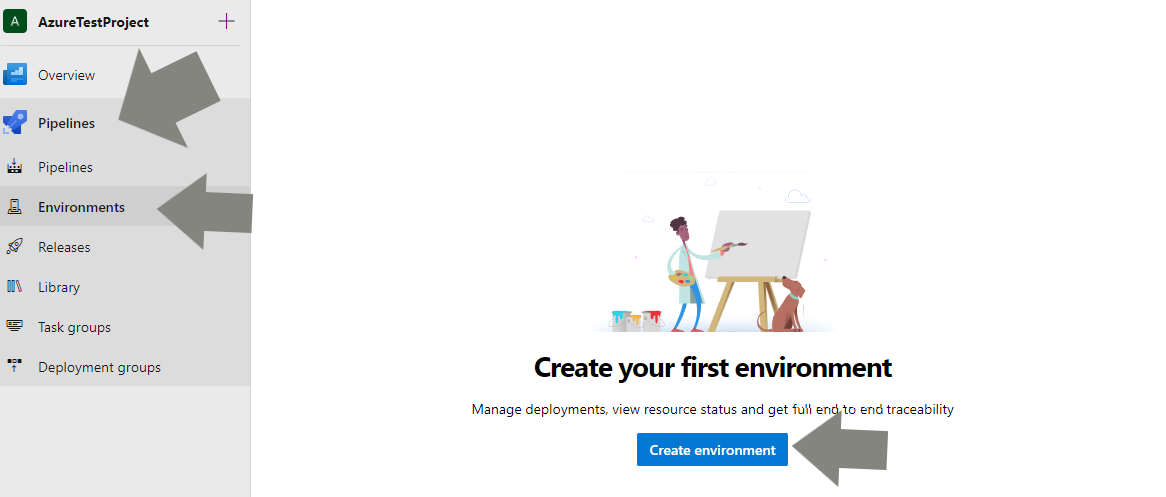
Create a pipeline environment in Azure DevOps
When creating a new environment, we need to specify a name, an optional description and and a resource. The environment name will need to be used in the pipeline that we will setup, so it's important that this is memorable. We are going to set the name as Windows 11 server. For the resource section, we'll select Virtual machines.

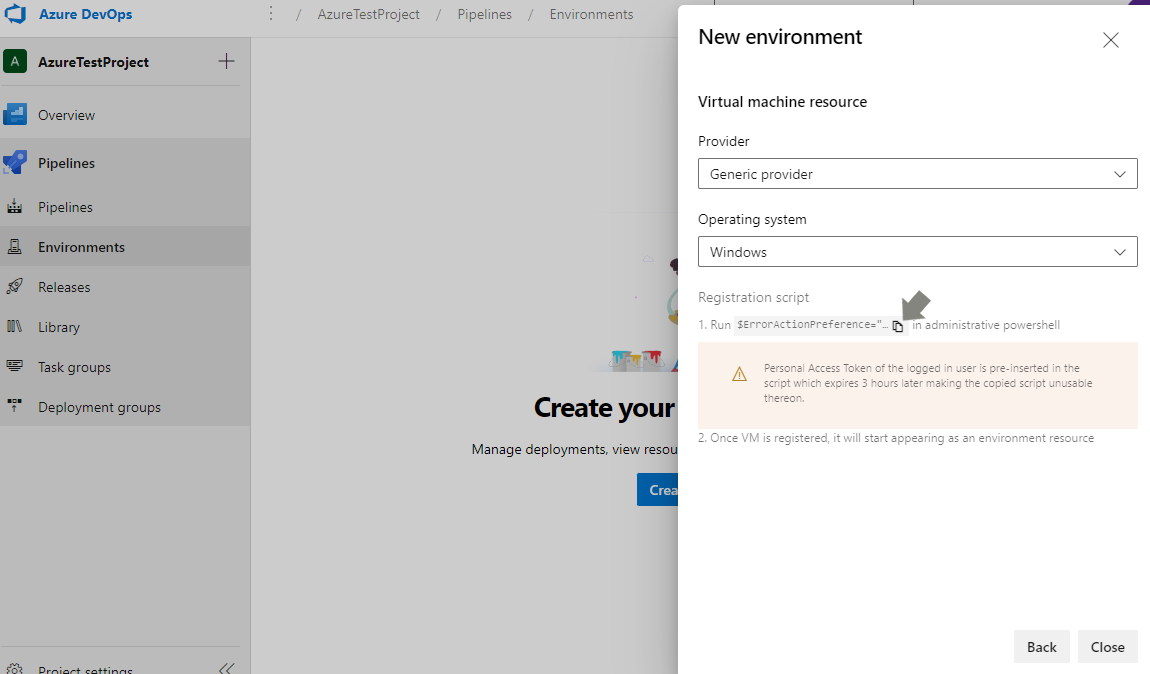
Create a pipeline environment options in Azure DevOps
Next, we need to select the provider. By default, this should be set as Generic provider and is probably the only option that is available. We also need to select the operating system. As we have a Windows 11 server, we are going to select Windows. We also have the option to select Linux.
Installing the agent
Our next task is to run a Powershell script to register an Azure Pipelines Agent onto our server. We can do that by clicking on the copy icon, which will copy the script that we need to run.
Run the Azure DevOps environment registration script
On the deployment server, we need to open up a Powershell window (in administration mode), and paste the script into there.
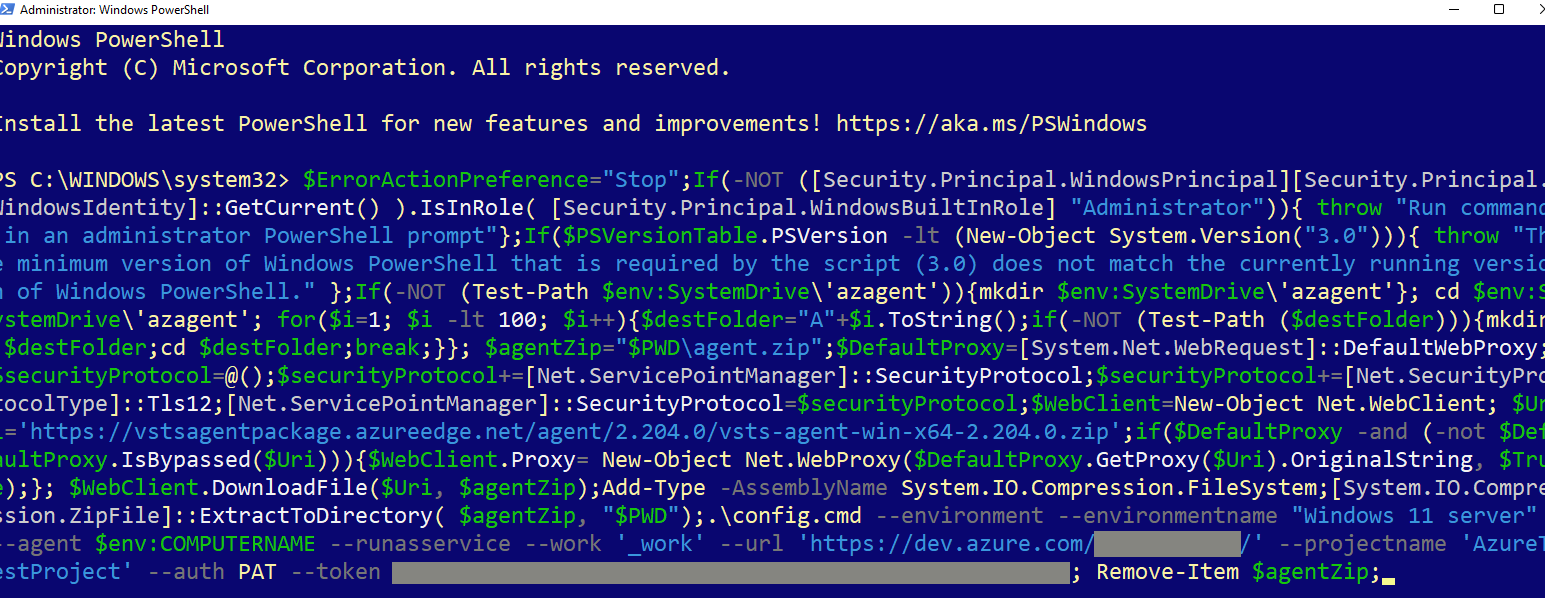
The PowerShell script to set up an Azure DevOps environment
Press enter to run the script. There are some options that we need to consider as the script is being ran. We should be able to press enter to all of them and use the default settings.

Azure Pipelines Agent Windows Service
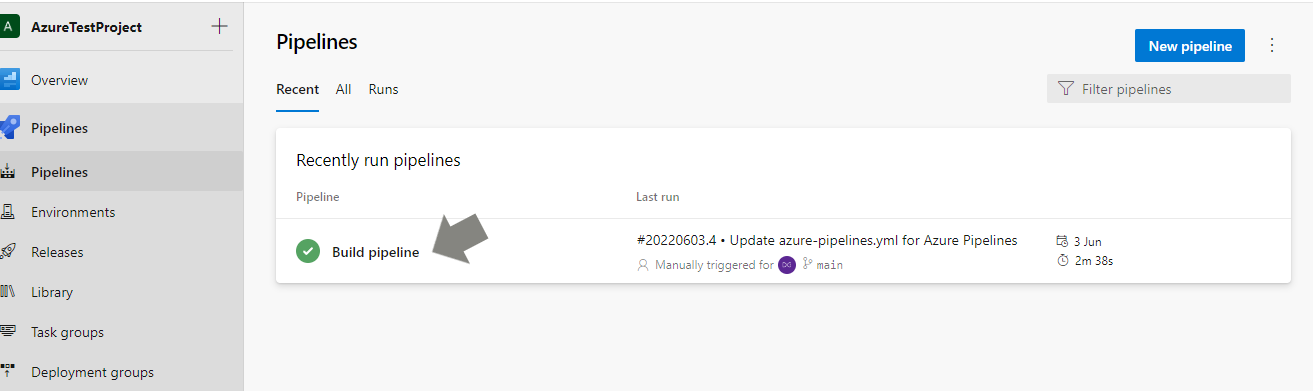
The release pipeline
With our environment setup, and our Pipelines Agent installed, we can go ahead and create the release pipeline.
Create a new release pipeline in Azure DevOps
When setting up a pipeline, we need to connect the source repository. Azure DevOps supports a number of version control hosting providers, including GitHub and BitBucket. Once we've selected one, we need to select which repository to use, and then configure the pipeline.
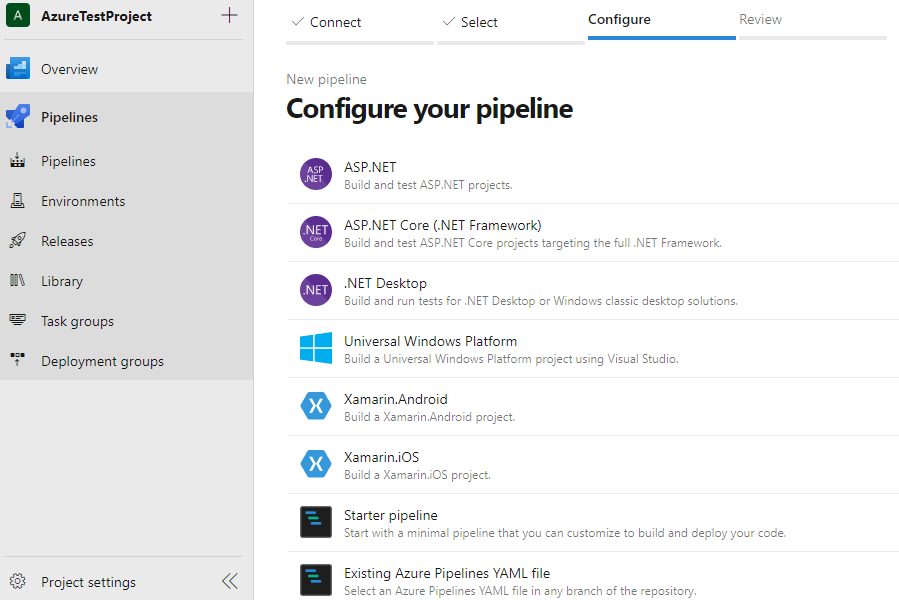
Configure a Azure DevOps pipeline
We'll select Starter pipeline, and we should find that there is already a azure-pipelines.yml pipeline in our repo. This is used for our build pipeline. If this file exists in our repo, it will append a hypthen, followed by a 1 to the filename, so it will be called azure-pipelines-1.yml.
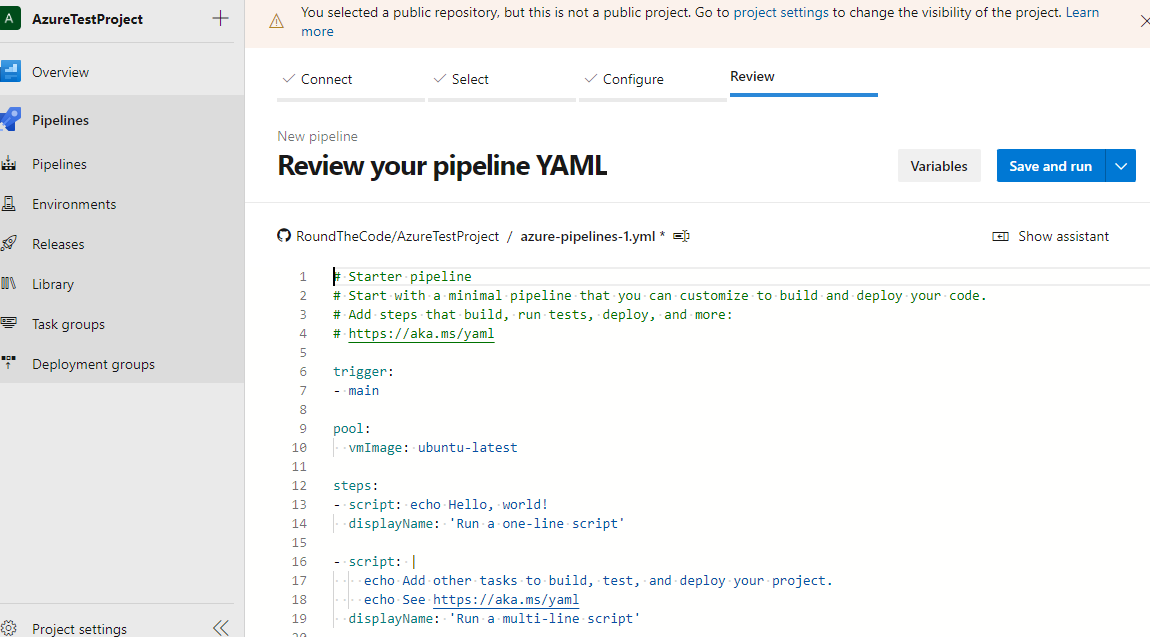
An example of azure-pipelines.yml file for release pipeline
We will go ahead and remove all the tasks, but keep the comments in there. At this point, we will save the file, which will be pushed to our repository.
Create the release pipeline
We are going to have a look at a number of YAML keys that we can use for our pipeline to deploy our ASP.NET Core Web API.
Trigger
With a build pipeline, we may wish to run it everytime a commit is made in our repo.
trigger key.
trigger:
- none
Variables
Next, we want to set up a variable. When creating an IIS website, we are going to call it AzureTestProject. Throughout the pipeline, we are going to have to use this name reference. Subquently, we want to set it up as a variable, which we can do like this:
variables:
  IISWebsiteName: 'AzureTestProject'
Resources
Afterwards, we want to create a link to our build pipeline. To do that, we can create a resource. Inside the resource, we reference the pipeline.
pipeline key in an alias and will be referred to in many instances within our release pipeline. In this instance, we are going to call it buildPipeline. However, this can be anything you want it to be.
project key, this has to match the name of the project. In our instance, it will be AzureTestProject.
Setting the build pipeline project in YAML resources
Afterwards we need to use the source key to reference the pipeline. This references the name of the pipeline, and is case sensitive. So if the build pipeline is called Build pipeline, the source key's value must be Build pipeline.
Setting the build pipeline source in YAML resources
Finally, we want to set which branch we should be reading the build pipeline from. We can use the branch key and set it to main.
trigger key to true. This trigger key can also be used to select specific branches.
resources:
  pipelines:
  - pipeline: 'buildPipeline' # Alias for pipeline resource. Can be anything.
    project: 'AzureTestProject' # This must match the name of the project
    source: 'Build pipeline' # This must match the name of the build pipeline
    branch: 'main'
    trigger: true # Runs every time a build pipeline has completed
Deploy job
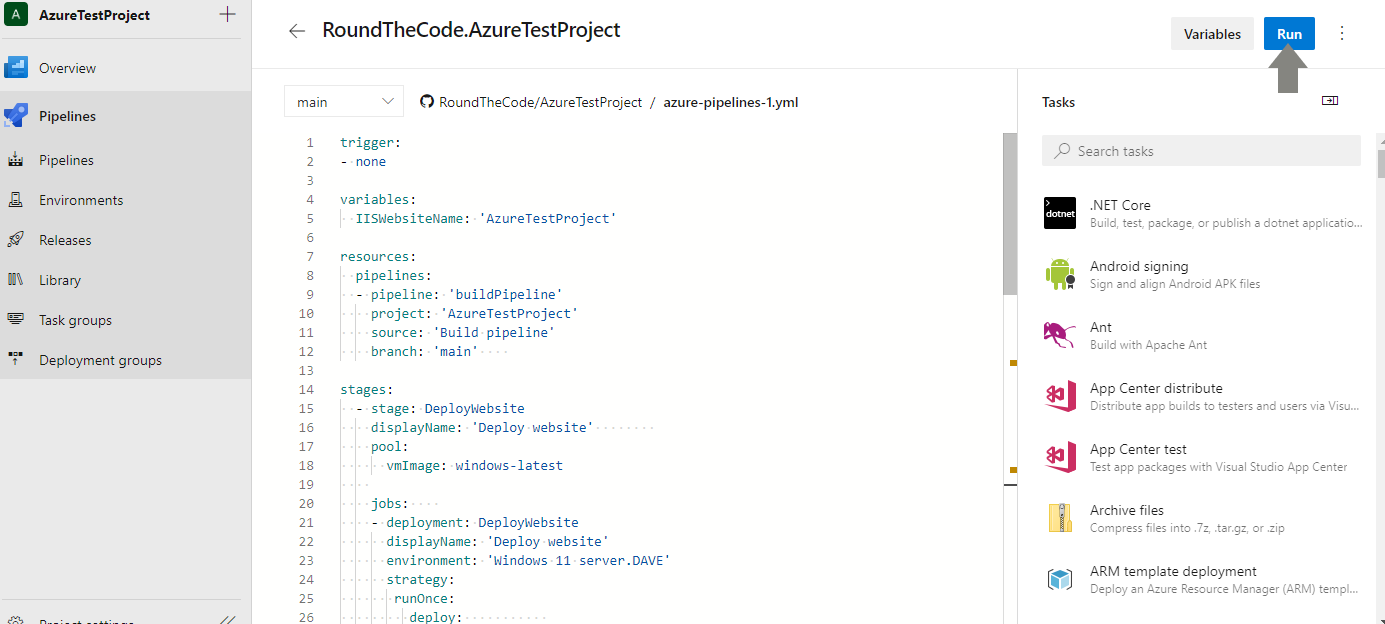
Next, we need to set up a job. The only job for this pipeline is to deploy the website. Within this job, we must declare the environment where the job is being performed. This will be on our deployment server.
Windows 11 server.DAVE.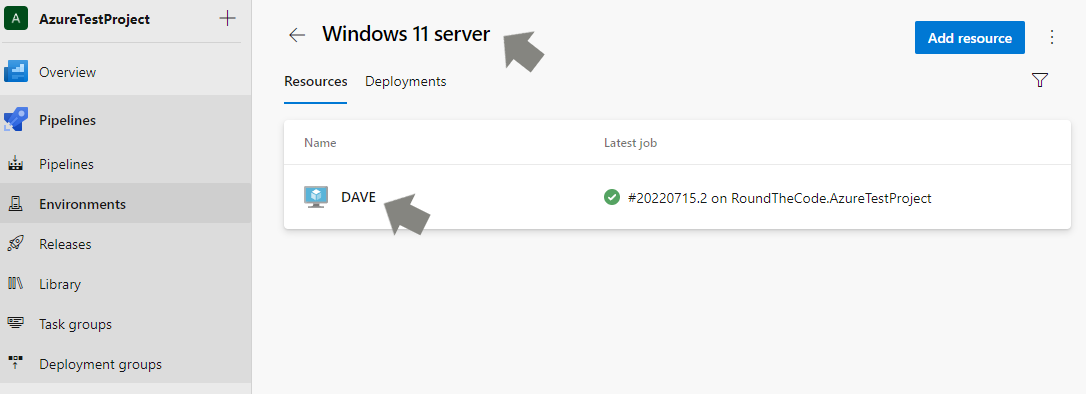
Finding the environment name for YAML pipeline in Azure DevOps
We also need to set up a strategy, and for this, we are going to run this job once which will peform the deployment.
stages:
  - stage: DeployWebsite
    displayName: 'Deploy website'
    pool:
      vmImage: windows-latest

    jobs:
    - deployment: DeployWebsite
      displayName: 'Deploy website'
      environment: 'Windows 11 server.DAVE' # Name of the environment followed by the name of the resource
      strategy:
       runOnce:
         deploy:
         ...
Download artifacts
Next, we have to create some steps into our job, and the first is to download the artifacts. For this we set a download key, and this will refer to the alias that we gave to our build pipeline.
buildPipeline, that is what we will refer to in our download.
AzureTestProject, so that is what we need to reference here.
stages:
  - stage: DeployWebsite
    displayName: 'Deploy website'
    pool:
      vmImage: windows-latest

    jobs:
    - deployment: DeployWebsite
      displayName: 'Deploy website'
      environment: 'Windows 11 server.DAVE'
      strategy:
       runOnce:
         deploy:
          steps:
          - checkout: none

          - download: 'buildPipeline' # The alias of our build pipeline
            name: 'DownloadBuildArtifacts'
            displayName: 'Download build artifacts'
            artifact: 'AzureTestProject' # The name of the artifact from the build pipeline.
            ...
IIS deploy
Now it's a case of deploying our artifacts to IIS on our server.
Stop IIS website
The first thing we want to do is to stop our IIS website. When creating a task, we wish to specify that we are stopping the website, and we can do that with setting the ActionIISWebsite to StopWebsite.
IISWebsiteName which we set earlier. This will be set as our StopStartWebsiteName.
- task: IISWebAppManagementOnMachineGroup@0
  name: 'StopIIS'
  displayName: 'Stop IIS website - ${{ variables.IISWebsiteName }}'
  inputs:
    IISDeploymentType: 'IISWebsite'
    ActionIISWebsite: 'StopWebsite'
    StartStopWebsiteName: '${{ variables.IISWebsiteName }}'
Deploy IIS website
With our IIS website stopped, we can make the deployment. One of the inputs we must specify is the package. This is the full path of the artifacts that was downloaded. The format is as follows:
$(Pipeline.Workspace)\buildPipeline\AzureTestProject\RoundTheCode.AzureTestProject$(Pipeline.Workspace)= The path on the deployment server where the agent stores downloaded artifacts.buildPipeline= The alias of the build pipeline.AzureTestProjectRoundTheCode.AzureTestProject= The full path of the folder to where the deployment files are located.
Here is the YAML task:
- task: IISWebAppDeploymentOnMachineGroup@0
  name: 'DeployIIS'
  displayName: 'Deploy IIS website - ${{ variables.IISWebsiteName }}'
  inputs:
    WebSiteName: '${{ variables.IISWebsiteName }}'
    Package: '$(Pipeline.Workspace)\buildPipeline\AzureTestProject\RoundTheCode.AzureTestProject'
    TakeAppOfflineFlag: true
Start IIS website
With our app deployed, we can start the application. For this task, we use similar YAML code for stopping the website, but we change the ActionIISWebsite input to StartWebsite.
 task: IISWebAppManagementOnMachineGroup@0
  name: 'StartIIS'
  displayName: 'Start IIS website - ${{ variables.IISWebsiteName }}'
  inputs:
    IISDeploymentType: 'IISWebsite'
    ActionIISWebsite: 'StartWebsite'
    StartStopWebsiteName: '${{ variables.IISWebsiteName }}'
The full YAML file
Here is the full YAML file for our release pipeline.
trigger:
- none

variables:
  IISWebsiteName: 'AzureTestProject'

resources:
  pipelines:
  - pipeline: 'buildPipeline'
    project: 'AzureTestProject'
    source: 'Build pipeline'
    branch: 'main'

stages:
  - stage: DeployWebsite
    displayName: 'Deploy website'
    pool:
      vmImage: windows-latest

    jobs:
    - deployment: DeployWebsite
      displayName: 'Deploy website'
      environment: 'Windows 11 server.DAVE'
      strategy:
       runOnce:
         deploy:
          steps:
          - checkout: none

          - download: 'buildPipeline'
            name: 'DownloadBuildArtifacts'
            displayName: 'Download build artifacts'
            artifact: 'AzureTestProject'

          - task: IISWebAppManagementOnMachineGroup@0
            name: 'StopIIS'
            displayName: 'Stop IIS website - ${{ variables.IISWebsiteName }}'
            inputs:
              IISDeploymentType: 'IISWebsite'
              ActionIISWebsite: 'StopWebsite'
              StartStopWebsiteName: '${{ variables.IISWebsiteName }}'

          - task: IISWebAppDeploymentOnMachineGroup@0
            name: 'DeployIIS'
            displayName: 'Deploy IIS website - ${{ variables.IISWebsiteName }}'
            inputs:
              WebSiteName: '${{ variables.IISWebsiteName }}'
              Package: '$(Pipeline.Workspace)\buildPipeline\AzureTestProject\RoundTheCode.AzureTestProject'
              TakeAppOfflineFlag: true

          - task: IISWebAppManagementOnMachineGroup@0
            name: 'StartIIS'
            displayName: 'Start IIS website - ${{ variables.IISWebsiteName }}'
            inputs:
              IISDeploymentType: 'IISWebsite'
              ActionIISWebsite: 'StartWebsite'
              StartStopWebsiteName: '${{ variables.IISWebsiteName }}'
Running the release pipeline
With our release pipeline set up, we can go ahead and run it. We can go ahead and press the blue "Run" button in the top-right hand corner of the screen.
Running a release pipeline in Azure DevOps
This will run the tasks within our release pipeline. Assuming everything is working as it should be, our .NET web app will be deployed to our server and running in IIS.
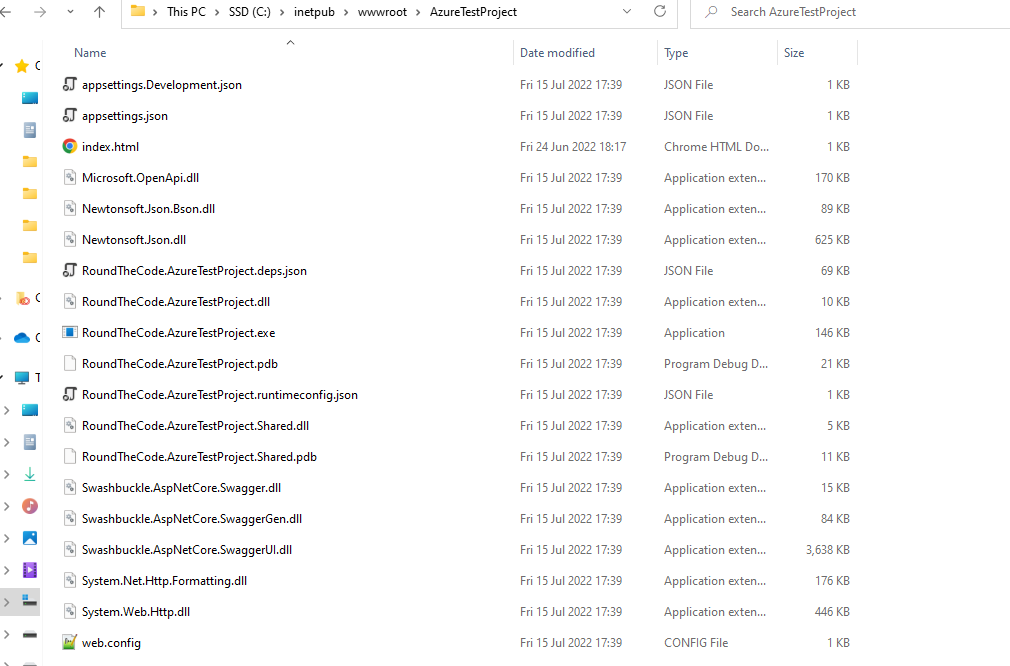
Deployed files from Azure DevOps
See the deployment in action
Checkout our video tutorial, where we go ahead and create a release pipeline. We populate the YAML file with our tasks, and then run it.
Also checkout the ASP.NET Core Web API project used in this tutorial. Download it and use it to create a release pipeline. The Git repository will need to be forked into a Git account which can have access to the Azure DevOps project.
Related tutorials

