How to use VS Code to develop and build a .NET application
Visual Studio has long been a popular IDE for developing .NET applications if you are on Windows.
macOS does have it's own version of Visual Studio, but development for this was stopped in August 2023 and retired 12 months later.
That means for .NET 8 and beyond, Visual Studio is not an option for macOS users and has never been an option for Linux users.
So what's the alternative?
Introducing Visual Studio Code
Visual Studio Code is available on Windows, macOS and Linux operating systems such as Ubuntu and Red Hat.
And with .NET being available on these operating systems since the introduction of .NET Core, it seems like a good IDE to produce .NET applications.
The first step will be to install Visual Studio Code onto your machine.
Installing the .NET SDK
When installing VS Code, it will not download and install the .NET SDK. As a result, you'll need to make sure that you download the .NET SDK version you wish to use and install it.
Installing C# in Visual Studio Code
Once you have VS Code and the .NET SDK on your machine, you can open it up and install the C# Dev Kit extension from the Microsoft Marketplace.
This will also install the C# extension and the .NET install tool.
The C# Dev Kit brings you intellisense, debugging and being able to manage unit tests.
Create an ASP.NET Core Web API
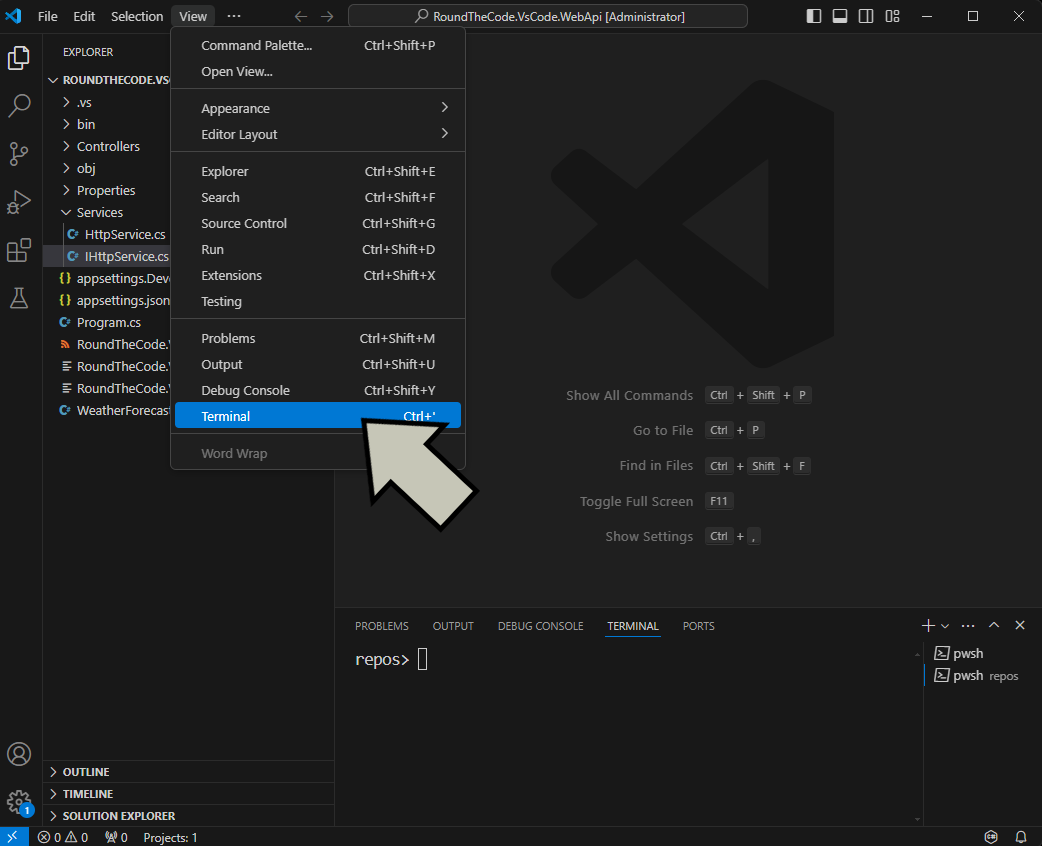
In Visual Studio Code, we can use the VS Code terminal to run .NET command lines. This can be added by going to View and Terminal from the top menu.
To create an ASP.NET Core Web API, we need to change directory in the terminal to the folder where we want to create the application. Then we run:
dotnet new webapi -n RoundTheCode.VsCode.WebApi -controllersThis will create a new Web API project called RoundTheCode.VsCode.WebApi.
By default, it will set it up to use Minimal APIs. However, by adding the -controllers option, it will add controllers to the project.
Create a service
We want to set up a HTTP service. This will create a method that will call to a third-party API and return the response as a string.
First of all, we'll want to make a new directory called Services, so we create that in the terminal and then change directory to it.
mkdir Services
cd Services
Next, we want to set up an interface and a class for our HTTP service. Once again, this can be done using the terminal by running the following commands:
dotnet new interface -n IHttpService
dotnet new class -n HttpService
The command will create a new interface called IHttpService, and a new class called HttpService.
Developing the interface
We'll start off with developing the IHttpService interface and we are going to add a ReadAsync method which will return a type of Task<string>.
// IHttpService.cs
namespace RoundTheCode.VsCode.WebApi.Services;

public interface IHttpService
{
	Task<string> ReadAsync();
}
Developing the class
Afterwards, we'll develop the HttpService class which will implement the IHttpService interface.
We'll pass in an instance of IHttpClientFactory and use that to create a new HttpClient. This will make an API call and either return the response if it's successful, or an empty string if it's not.
// HttpService.cs
namespace RoundTheCode.VsCode.WebApi.Services;

public class HttpService : IHttpService
{
	private readonly IHttpClientFactory _httpClientFactory;

	public HttpService(IHttpClientFactory httpClientFactory)
	{
		_httpClientFactory = httpClientFactory;
	}

	public async Task<string> ReadAsync()
	{
		using var httpClient = _httpClientFactory.CreateClient("DummyJSON");

		var response = await httpClient.GetAsync($"/products/1");

		if (!(response?.IsSuccessStatusCode ?? false))
		{
			return string.Empty;
		}

		return await response.Content.ReadAsStringAsync();
	}
}
Add service and HttpClient to dependency injection
Finally, we want to add the HttpService and the HttpClient to dependency injection.
We'll set the HttpService instance with a scoped lifetime and add the HttpClient by setting the BaseAddress for it.
// Program.cs
using RoundTheCode.VsCode.WebApi;

...

builder.Services.AddScoped<IHttpService, HttpService>();

builder.Services.AddHttpClient("DummyJSON", (httpClient) => {
    httpClient.BaseAddress = new Uri("https://dummyjson.com");
});

var app = builder.Build();

...

app.Run();
Create a Web API controller
It's time to create a Web API controller. In the VS Code terminal, we want to change directory to the Controllers folder and create a new API controller called HttpController.
We do that by running these commands:
cd Controllers
dotnet new apicontroller -n HttpController
Then it's a case of injecting the IHttpService interface and setting up an endpoint that will call the ReadAsync method and return it as part of the response.
// HttpController.cs
using Microsoft.AspNetCore.Mvc;
using RoundTheCode.VsCode.WebApi.Services;

namespace RoundTheCode.VsCode.WebApi.Controllers;

[Route("api/[controller]")]
[ApiController]
public class HttpController : ControllerBase
{
    private readonly IHttpService _httpService;

    public HttpController(IHttpService httpService) {
        _httpService = httpService;
    }

    [HttpGet]
    public async Task<IActionResult> GetProductAsync() {
        return Ok(await _httpService.ReadAsync());
    }
}
Build the application
To ensure that the application can compile, we can run this command line in the terminal:
dotnet buildAssuming there are no errors, we can run the application and test out the endpoint.
If you open up launchSettings.json in the Properties folder of your Web API project, you'll likely to have a number of launch profiles set up.
{
  "$schema": "http://json.schemastore.org/launchsettings.json",
  "iisSettings": {
    "windowsAuthentication": false,
    "anonymousAuthentication": true,
    "iisExpress": {
      "applicationUrl": "http://localhost:39180",
      "sslPort": 44352
    }
  },
  "profiles": {
    "http": {
      "commandName": "Project",
      "dotnetRunMessages": true,
      "launchBrowser": true,
      "launchUrl": "swagger",
      "applicationUrl": "http://localhost:5097",
      "environmentVariables": {
        "ASPNETCORE_ENVIRONMENT": "Development"
      }
    },
    "https": {
      "commandName": "Project",
      "dotnetRunMessages": true,
      "launchBrowser": true,
      "launchUrl": "swagger",
      "applicationUrl": "https://localhost:7003;http://localhost:5005",
      "environmentVariables": {
        "ASPNETCORE_ENVIRONMENT": "Development"
      }
    },
    "IIS Express": {
      "commandName": "IISExpress",
      "launchBrowser": true,
      "launchUrl": "swagger",
      "environmentVariables": {
        "ASPNETCORE_ENVIRONMENT": "Development"
      }
    }
  }
}
You'll probably want to run the project with the https launch profile. To do that you can run this command in the terminal:
dotnet run --launch-profile httpsHowever, if you don't want to specify the launch profile everytime you run the project, you can remove the launch profiles that you are not using. Here, we have just left the https launch profile.
{
  "$schema": "http://json.schemastore.org/launchsettings.json",
  "profiles": {
    "https": {
      "commandName": "Project",
      "dotnetRunMessages": true,
      "launchBrowser": true,
      "launchUrl": "swagger",
      "applicationUrl": "https://localhost:7003;http://localhost:5005",
      "environmentVariables": {
        "ASPNETCORE_ENVIRONMENT": "Development"
      }
    }
  }
}
Then you can run the same command line without the launch profile, and it will launch it with the sole profile.
dotnet runDebug an application
It's also possible to debug an application in Visual Studio Code.
Watch this video where we'll show you how to set it up and use it by adding a breakpoint. The video will also show you how we created an ASP.NET Core Web API and added the relevant services and controllers described in this tutorial.
A good alternative to Visual Studio
Visual Studio Code is certainly a good alternative to Visual Studio. With the correct extensions, you can enable intellisense and debug an application.
And with VS Code also available on Linux and MacOS, it's a great IDE for developing on these operating systems.
Just remember those .NET command lines!
Latest tutorials

