
Swagger's missing in .NET 10 - How to add it back

You create a .NET 10 project, run the application, try to access the Swagger page, and you get a 404 Not Found error.
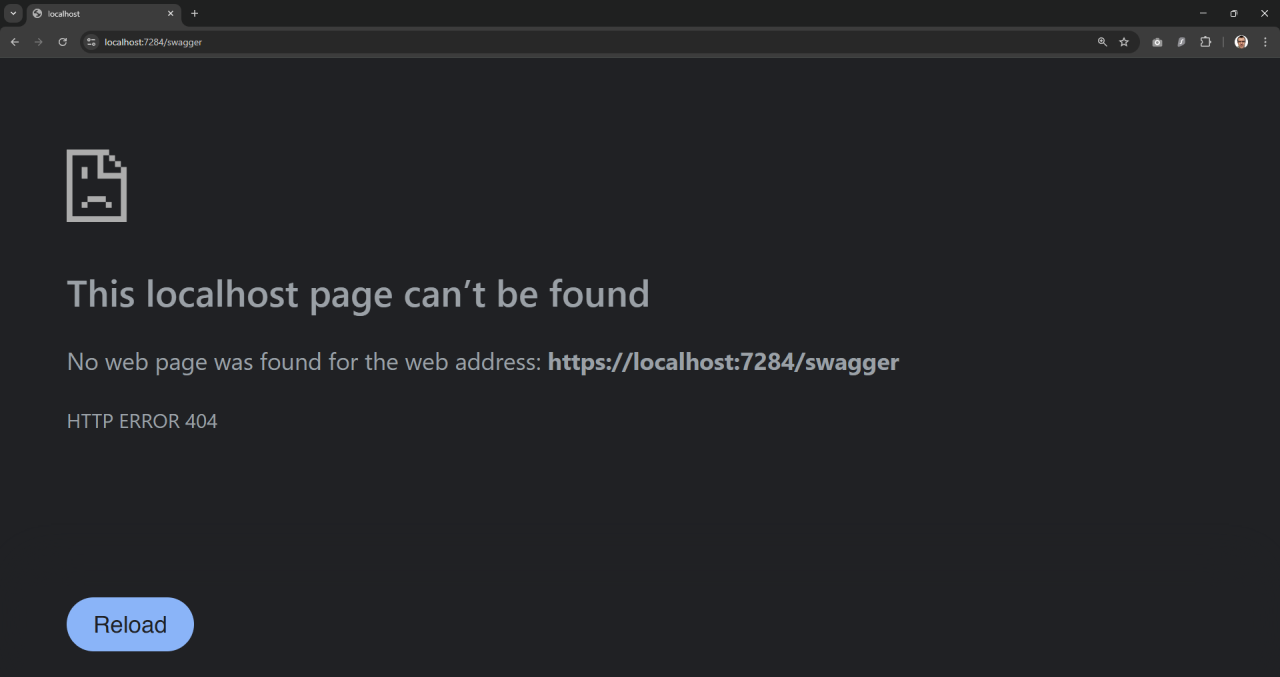
Swagger is missing.
So how do you add it back?
Why is Swagger missing?
Microsoft dropped support for Swagger in .NET 9. As mentioned in this GitHub discussion:
"The project is no longer actively maintained by its community owner. Issues have not been addressed or resolved..."
Microsoft has moved towards using OpenAPI, meaning OpenAPI documentation can now be generated without the need for Swagger.
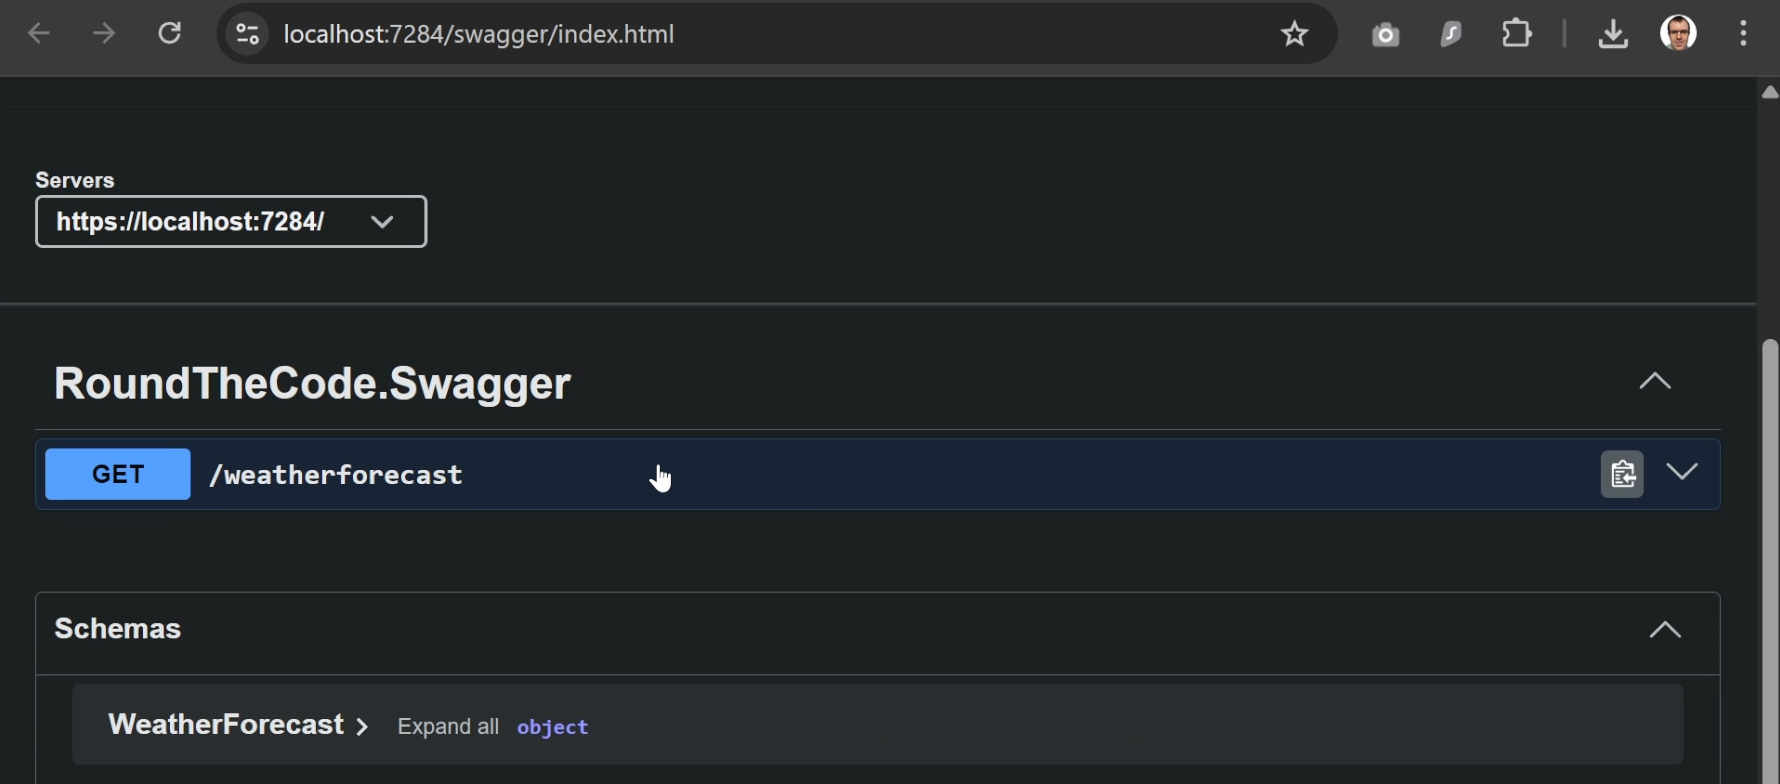
How to add Swagger to .NET 10
First, you need to add the Swashbuckle.AspNetCore.SwaggerUI package to your Web API project.
Next, inside Program.cs, you need to add the options parameter to UseSwaggerUI and set the endpoint to /openapi/v1.json.
// Program.cs
if (app.Environment.IsDevelopment())
{
	app.MapOpenApi();

	// Add this
	app.UseSwaggerUI(options =>
	{
		options.SwaggerEndpoint("/openapi/v1.json", "API v1");
	});
}
Launch Swagger automatically
If you want your application to launch with Swagger when it runs, open Properties > launchSettings.json.
Find the https profile, set launchBrowser to true, and set launchUrl to swagger.
{
	"$schema": "https://json.schemastore.org/launchsettings.json",
	"profiles": {
		"http": {
			"commandName": "Project",
			"dotnetRunMessages": true,
			"launchBrowser": false,
			"applicationUrl": "http://localhost:5155",
			"environmentVariables": {
				"ASPNETCORE_ENVIRONMENT": "Development"
			}
		},
		"https": {
			"commandName": "Project",
			"dotnetRunMessages": true,
			"launchBrowser": true,
			"launchUrl": "swagger",
			"applicationUrl": "https://localhost:7284;http://localhost:5155",
			"environmentVariables": {
				"ASPNETCORE_ENVIRONMENT": "Development"
			}
		}
	}
}
If you want to use Swagger in a .NET application, our Minimal API for complete beginners course is just for you. You will learn how to create API endpoints and how to test them using Swagger.
Alternatives to Swagger
Swagger is added back in, but are there better alternatives?
Scalar
Scalar is an alternative to Swagger. It allows you to test endpoints using a different UI.
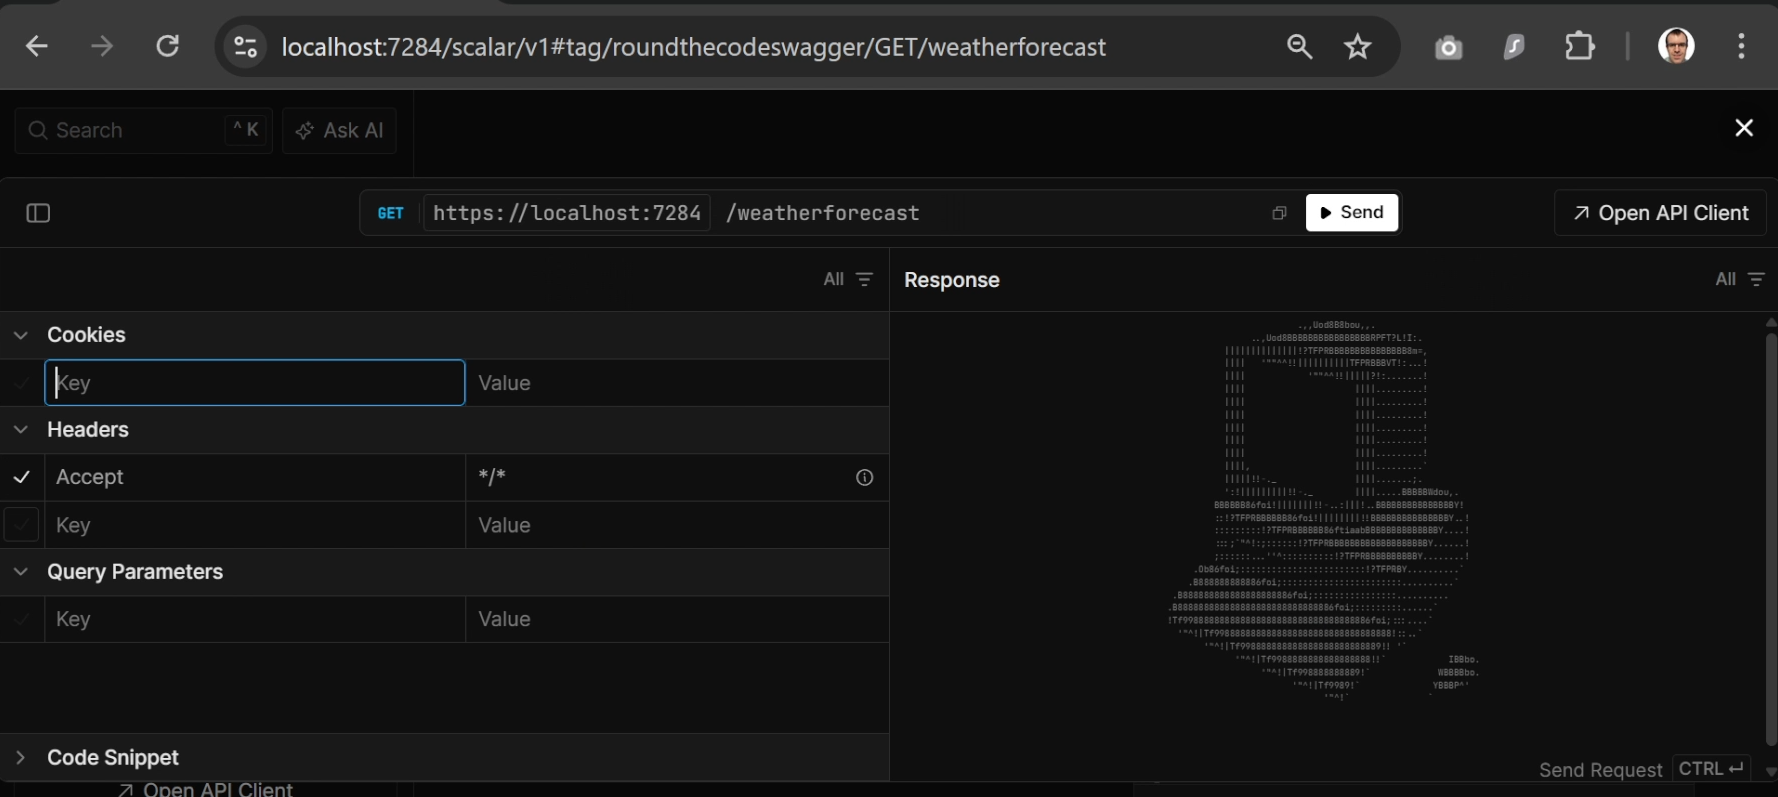
To add Scalar, install the Scalar.AspNetCore package in your Web API.
Then, in Program.cs, import Scalar.AspNetCore and add the following:
// Program.cs
using Scalar.AspNetCore; // <-- Import this namespace

...

if (app.Environment.IsDevelopment())
{
	app.MapOpenApi();
	app.MapScalarApiReference(); // <-- Add this line
}
To launch your application with Scalar, open launchSettings.json.
Set launchBrowser to true and launchUrl to scalar/v1.
{
	"$schema": "https://json.schemastore.org/launchsettings.json",
	"profiles": {
		"http": {
			"commandName": "Project",
			"dotnetRunMessages": true,
			"launchBrowser": false,
			"applicationUrl": "http://localhost:5155",
			"environmentVariables": {
				"ASPNETCORE_ENVIRONMENT": "Development"
			}
		},
		"https": {
			"commandName": "Project",
			"dotnetRunMessages": true,
			"launchBrowser": true,
			"launchUrl": "scalar/v1",
			"applicationUrl": "https://localhost:7284;http://localhost:5155",
			"environmentVariables": {
				"ASPNETCORE_ENVIRONMENT": "Development"
			}
		}
	}
}
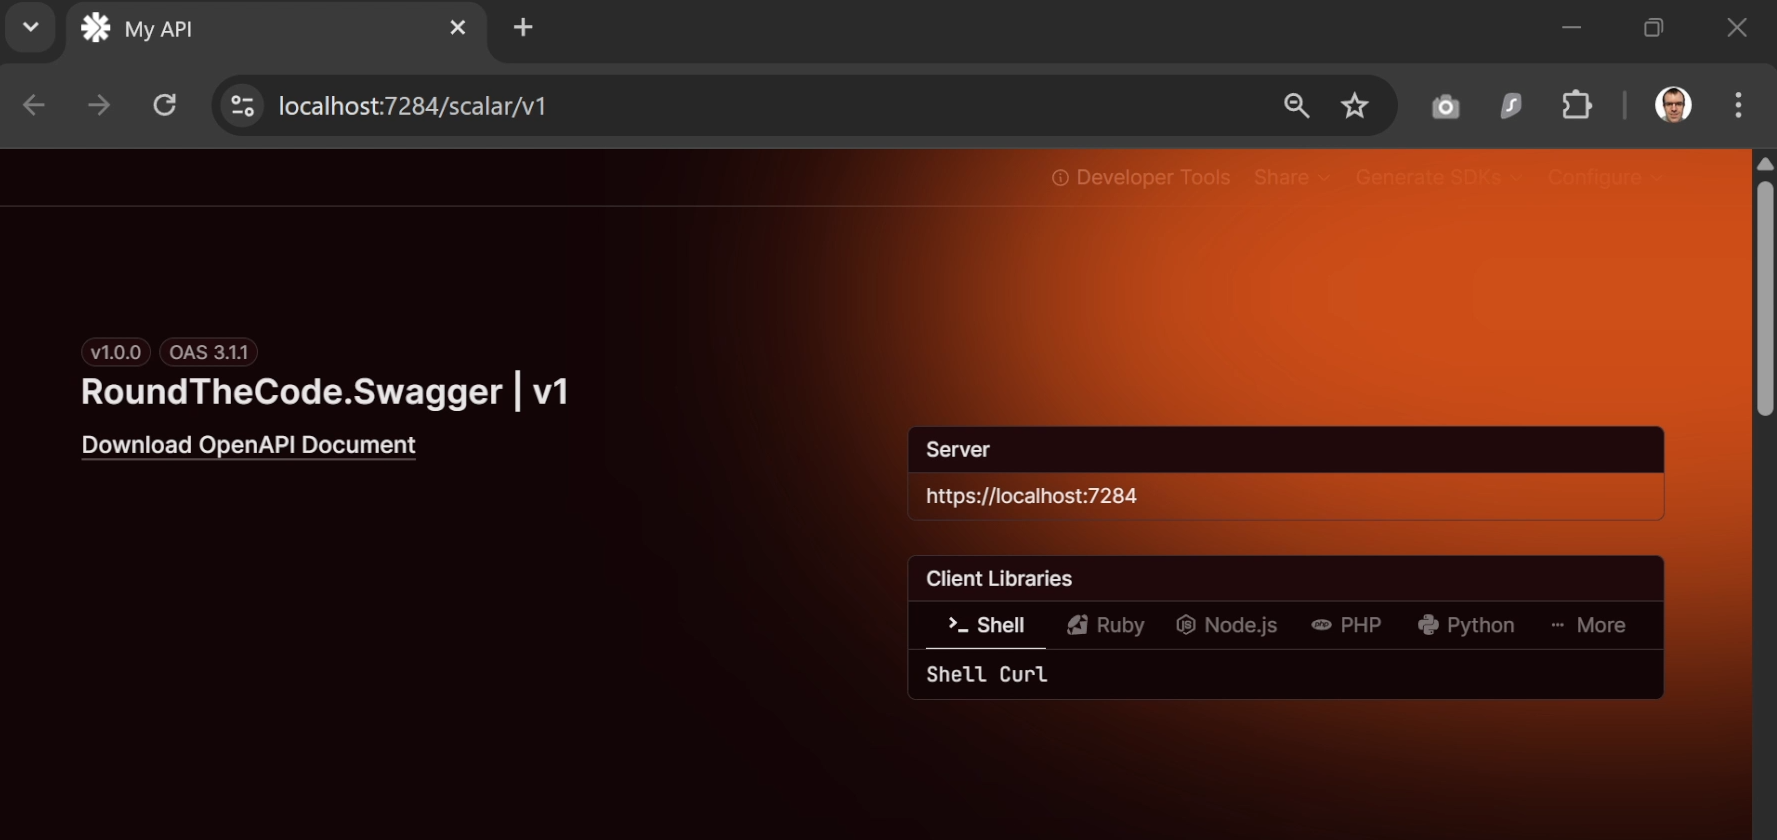
You can also configure options for Scalar. In this example, the title is set to "My API", the theme is set to ScalarTheme.Mars, and the sidebar is hidden.
// Program.cs
if (app.Environment.IsDevelopment())
{
	app.MapOpenApi();
	app.MapScalarApiReference(options =>
	{
		options.WithTitle("My API");
		options.WithTheme(ScalarTheme.Mars);
		options.HideSidebar();
	});
}
And here's how it looks:
Redoc
Redoc generates API documentation but does not allow you to test endpoints.
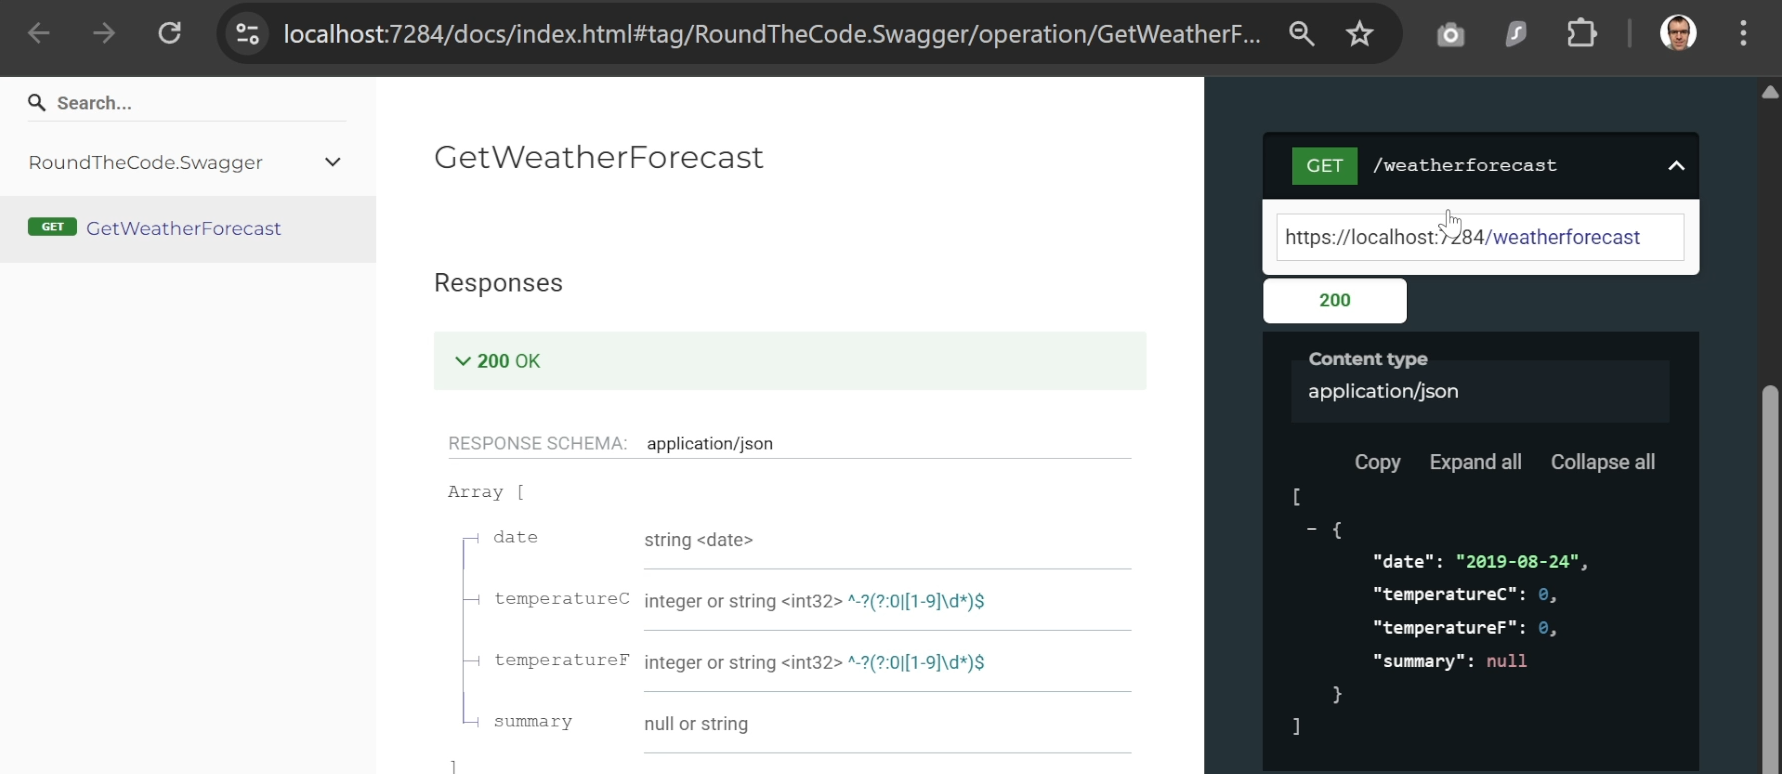
To add Redoc, install the Redoc.AspNetCore package in your Web API.
Then add the following to Program.cs:
// Program.cs
if (app.Environment.IsDevelopment())
{
	app.MapOpenApi();
	app.UseReDoc(options =>
	{
		options.RoutePrefix = "docs";
		options.SpecUrl = "/openapi/v1.json";
	});
}
To launch your application with Redoc, open launchSettings.json.
Set launchBrowser to true and launchUrl to docs (or whatever you set in options.RoutePrefix).
{
	"$schema": "https://json.schemastore.org/launchsettings.json",
	"profiles": {
		"http": {
			"commandName": "Project",
			"dotnetRunMessages": true,
			"launchBrowser": false,
			"applicationUrl": "http://localhost:5155",
			"environmentVariables": {
				"ASPNETCORE_ENVIRONMENT": "Development"
			}
		},
		"https": {
			"commandName": "Project",
			"dotnetRunMessages": true,
			"launchBrowser": true,
			"launchUrl": "docs",
			"applicationUrl": "https://localhost:7284;http://localhost:5155",
			"environmentVariables": {
				"ASPNETCORE_ENVIRONMENT": "Development"
			}
		}
	}
}
Alternatives to using a UI
You may not want to expose a UI containing all your endpoints.
The .http file
When you create a Web API, a .http file is generated. If you are using Visual Studio, it allows you to test the WeatherForecast endpoint that is created by default. When the application is running, you can send requests or debug them directly.
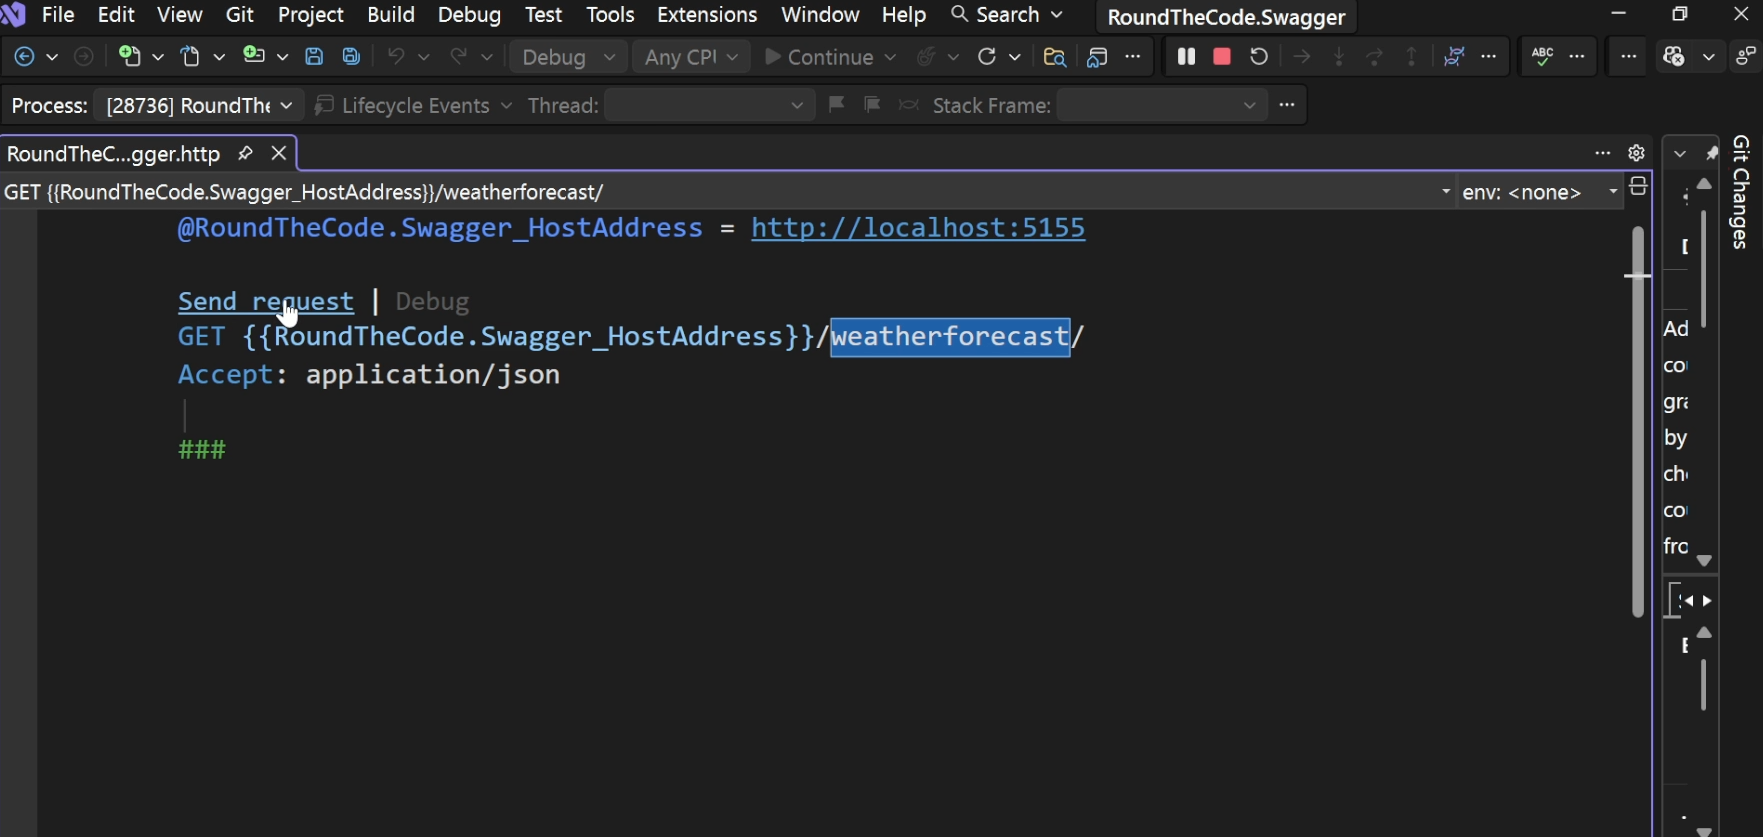
In Visual Studio, if you want to add additional endpoints from your application into the .http file, go to:
View > Other Windows > Endpoints Explorer
This displays a list of all the endpoints in your Web API.
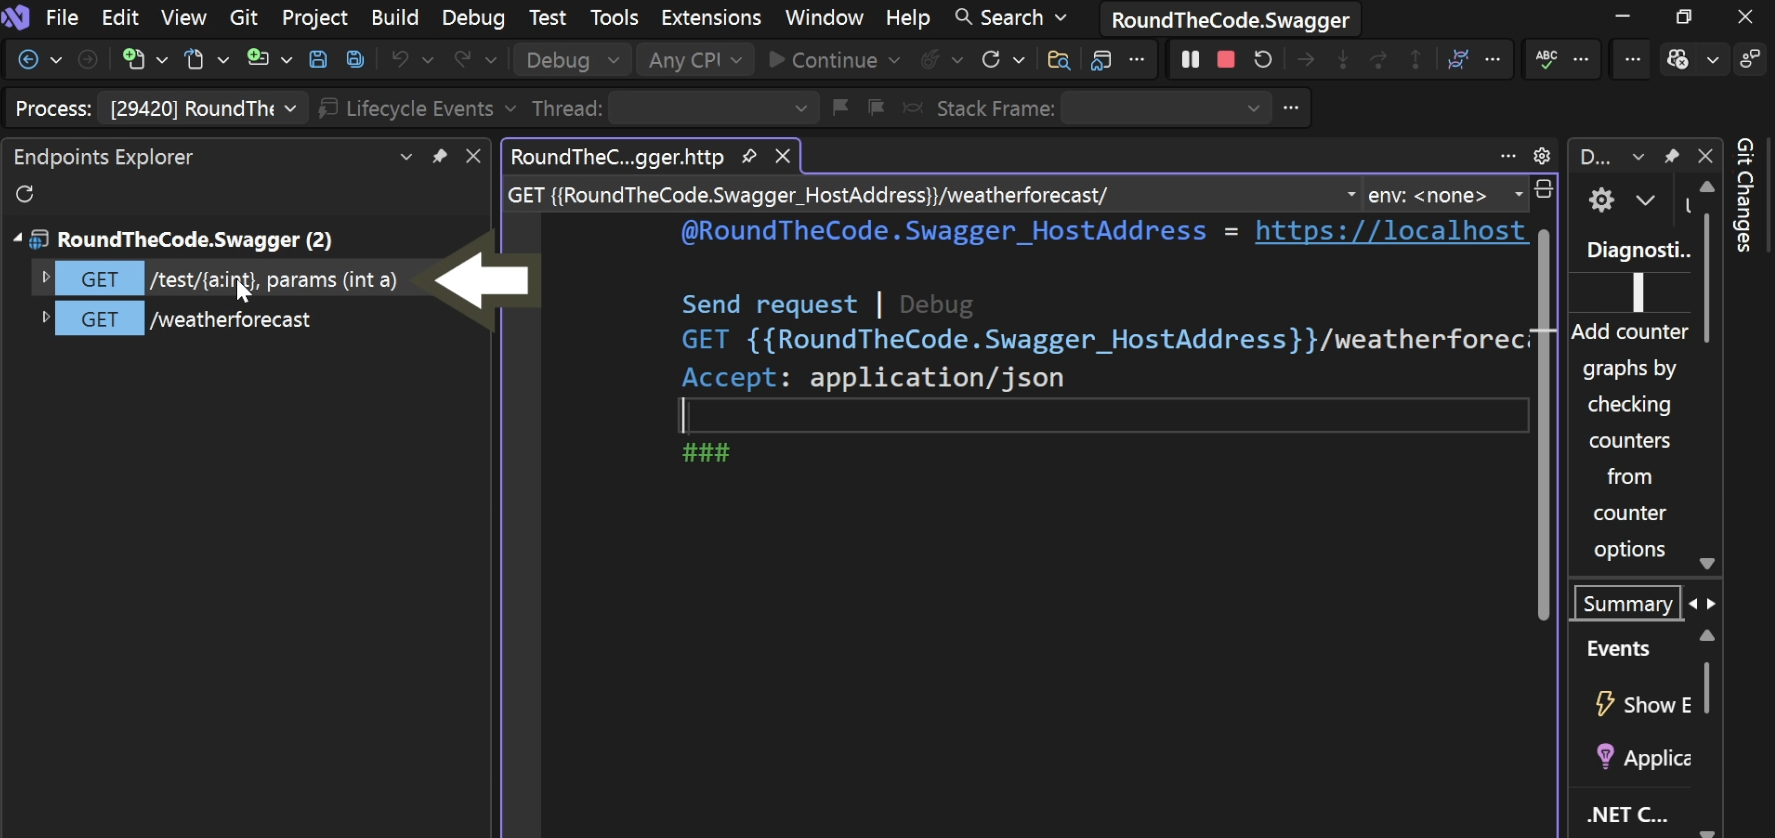
By right-clicking an endpoint and selecting Generate request, Visual Studio adds the request to the .http file.
Postman
Another option is Postman. You can add individual endpoints manually or import an OpenAPI document.
To import an OpenAPI document, run your application and navigate to /openapi/v1.json. Copy the URL.
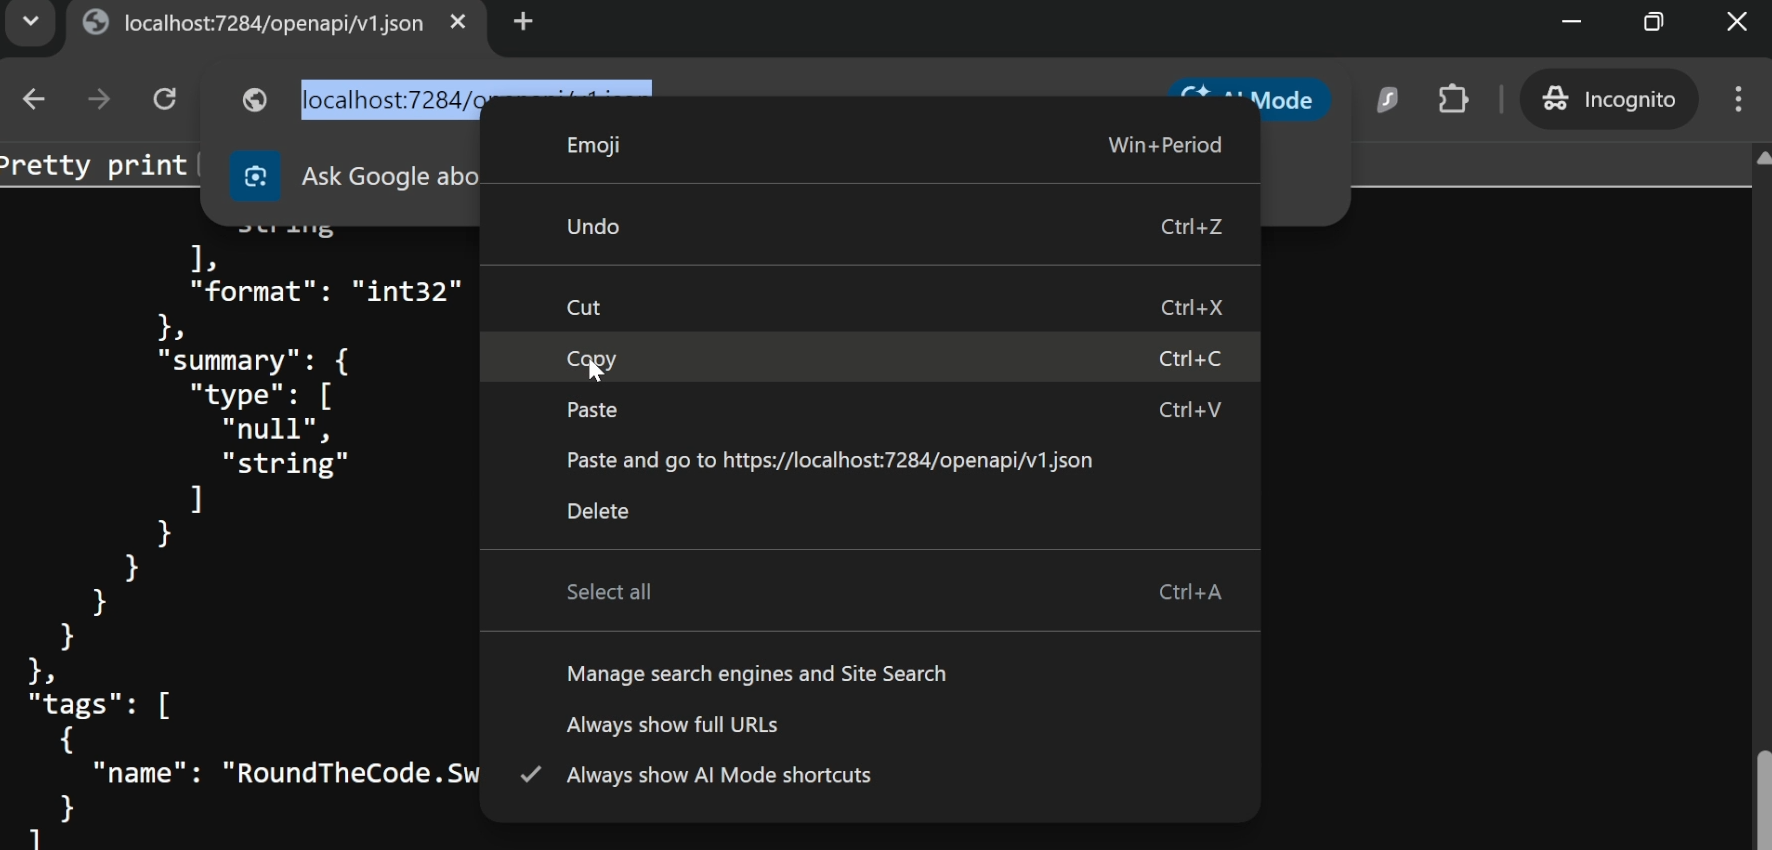
In Postman, go to Import and paste the URL. Postman will then import your endpoints so you can test them.
Watch the video
Watch the video where we show you how to add Swagger back in and explore the other alternatives to Swagger.
Related pages

